If you read the Beginners Guide to Makeup – The Items, you’d notice I only mentioned your beginners makeup pouch should contain only three items. Click this link to have a quick squizz at my post, to understand what I’m talking about. Here’s a look I created to prove to you that less items doesn’t necessarily mean less quality.
Cue intro music and a title in bold letters saying “The Three Items Makeup Tag”
Yeah, I’m making it a tag, and I tag anybody reading this, to recreate a look using only three items. Can you do it? Better question, can I do it? To not make an entire fool of myself, I shall practice what I preached, and give you all a lovely makeup look.
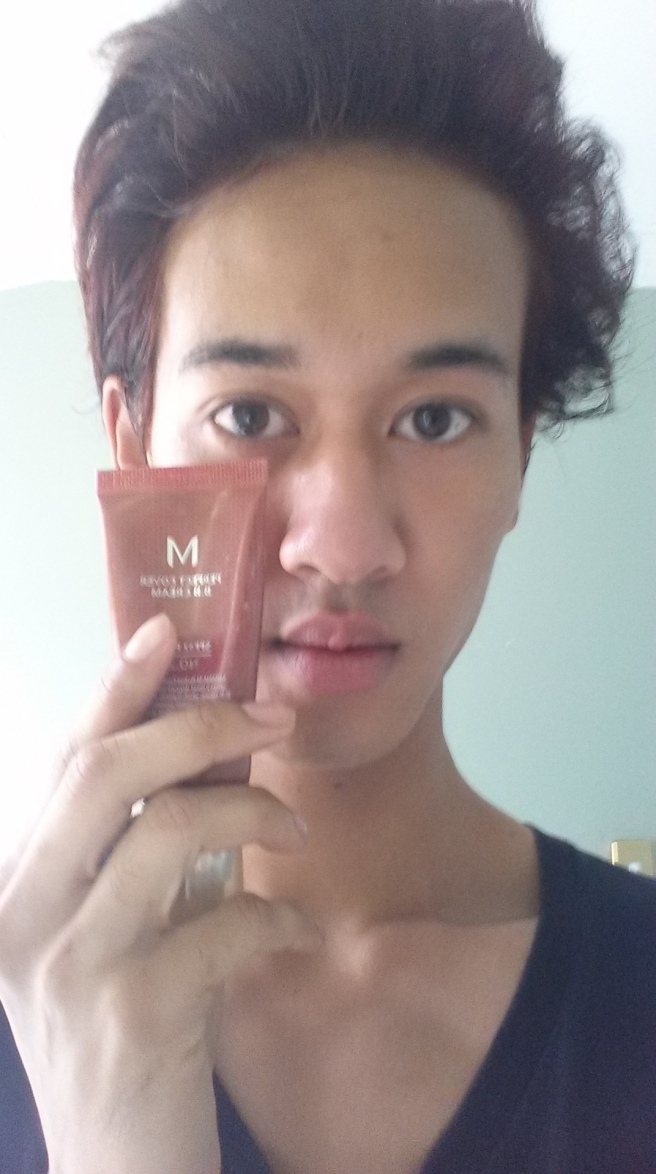
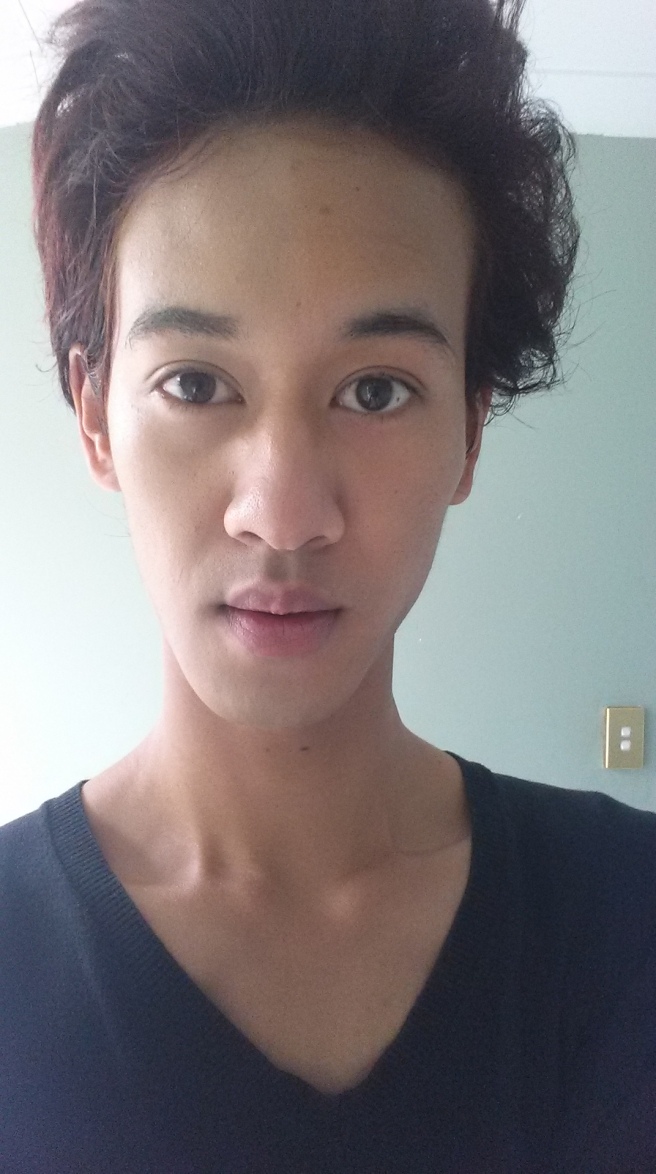
Lets start off with a bare face and here I’m using the Missha M Perfect cover BB cream as my base makeup. I got my BB cream from the Missha store online for $32.99 AUD. Squeeze an appropriate amount onto the back of your hands and apply to your face following the natural countours. Take a bit of the product to conceal flaws such as acne spots or dark undereye circles.
This is what it should look like. As usual, I’ll only do have my face as a comparison throughout the tag. Notice how my skin looks more even, brighter and dark circles are less evident?
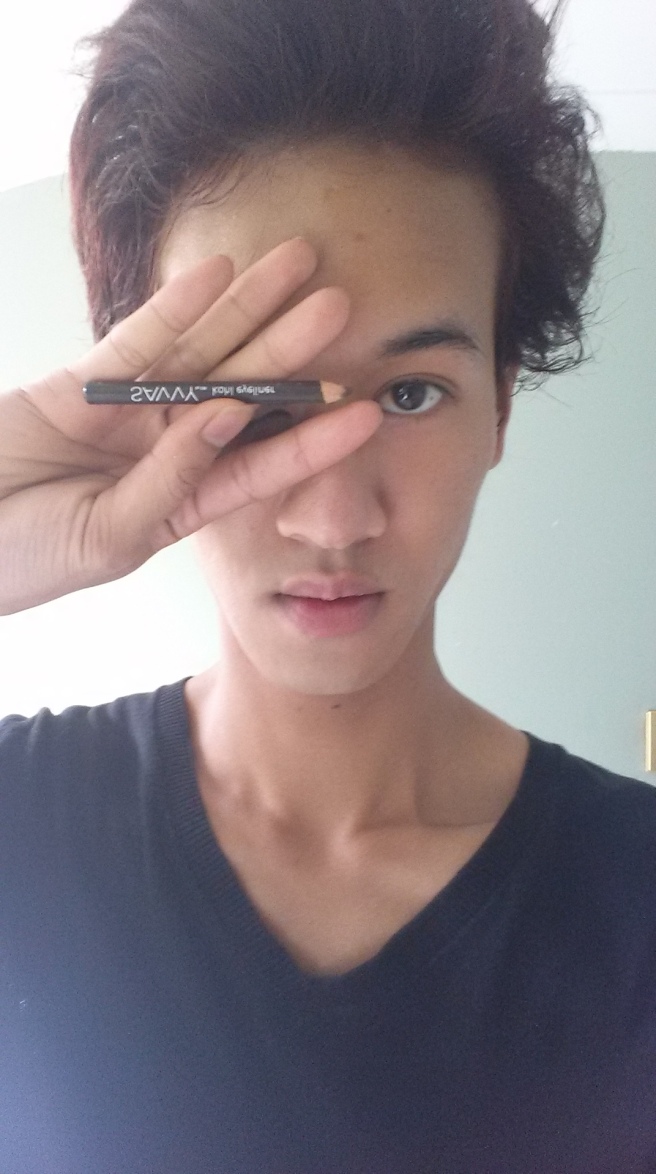
Next item is the brown eyeliner, and this one I picked up from the nearest drugstore. The Savvy kohl pencil liner in brown, roughly $2 AUD.
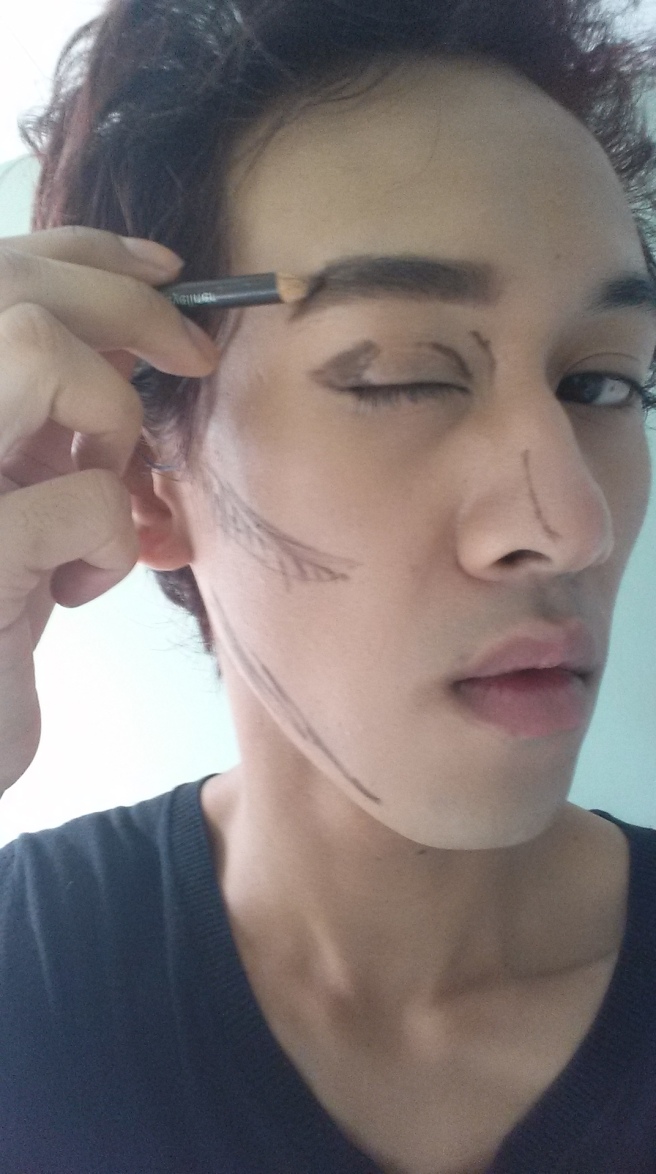
Notice where I filled in my face with the pencil? Draw accordingly, to contour and define your cheeks, chin and nose. Fill in eyebrows with a very light hand, drawing small dashes in between sparse hairs for a natural look. With the brown marks on your face, blend into your skin for natural looking shading.
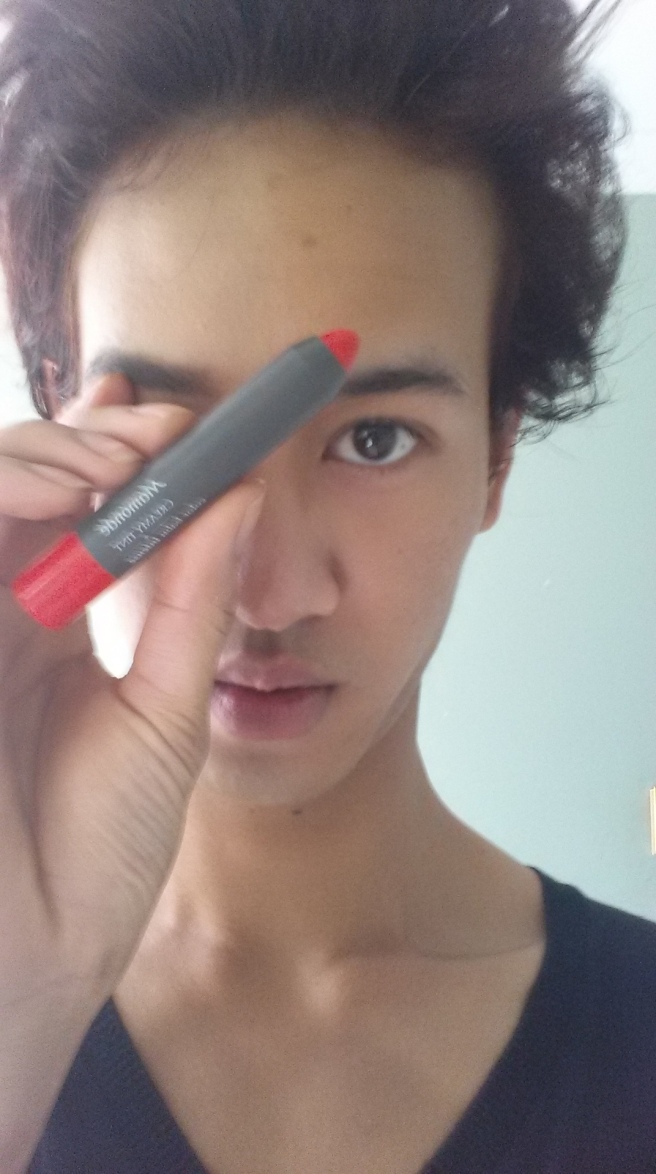
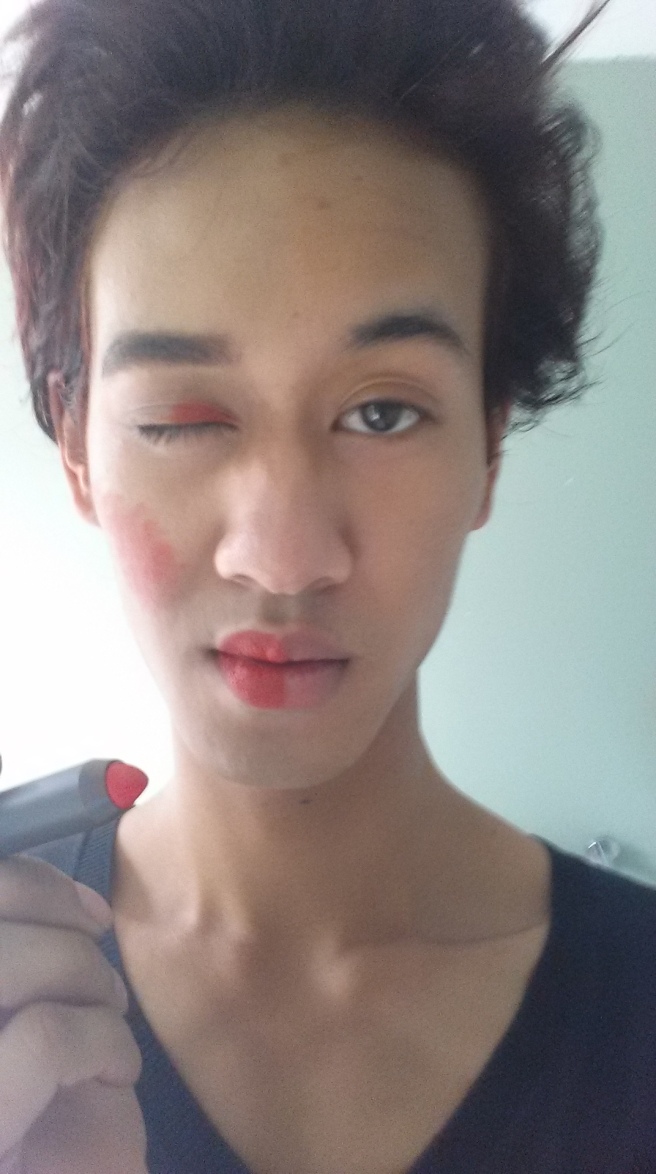
Now we’re up to the colour, and here I’m using the Mamonde crayon tint in shade #12, which I got from Cosmehut in Westfield Carousel for $18 AUD. Apply to lips, eyelids and cheeks, and blend colour in. You should look like this with your application.
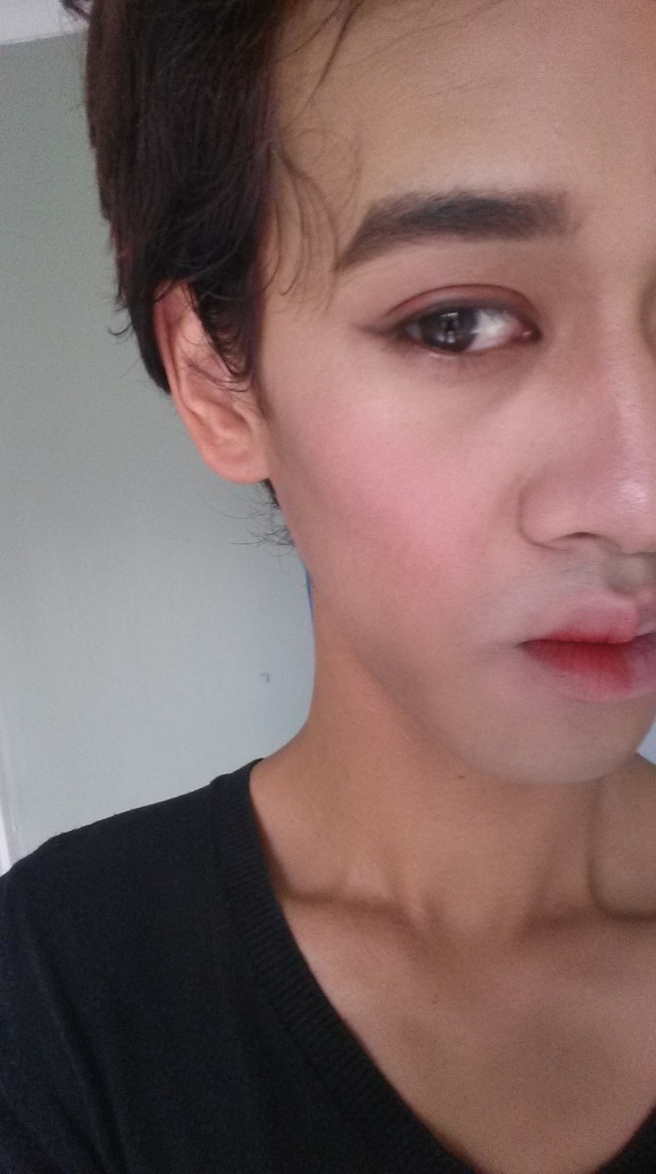
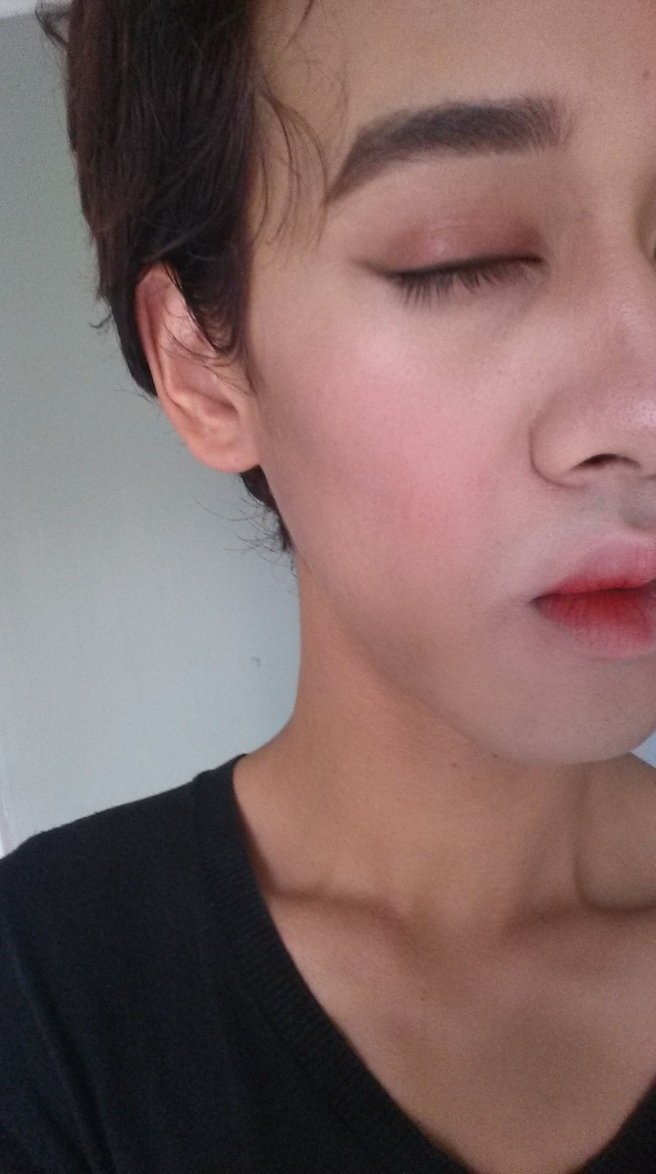
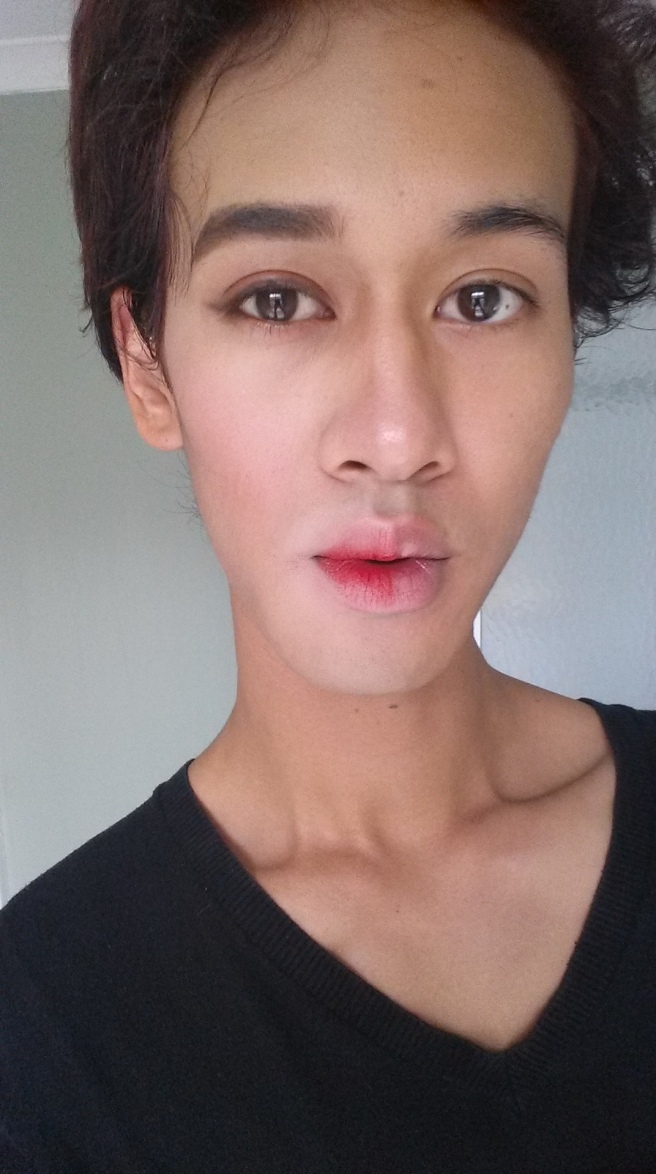
After blending, take the brown eyeliner you used before and line your lashline, flicking upwards at the outer comer of your eye to create a winged cat liner. Line the bottom water line half way and connect the lines. Take some of the BB cream you used to tidy up the eyeliner if you smudged it like I did and apply to the outer parts of your lips to create a gradient lip effect.
This is the final product WHY DO I LOOK LIKE I’M ABOUT TO CRY OMG
With a limited budget and a few items, you can create a wearable look that’s easy for you and easy on the wallet. Remember that just like anything else, makeup doesn’t have to be only used for what it’s designed for. With practically and experimentation, you can work with what you have and save some money on other things. Once your skill progresses and you have more money, you can invest on better products, or expand your makeup collection.
This tag was fun to do, and quite challenging actually, especially with the eyeliner because this Savvy eyeliner is really crap and didn’t blend the way I wanted it to.
Again, I tag everyone who reads this, to give it a go. It really opened up my eyes to how much we take our products for granted, and how difficult it is to actually stick to only using three makeup items for a look.
What are your tips on beginners makeup, and what items did you start out with? Let me know in the comments below or tag me on one of my SNS accounts. Send me your three items tag photos through twitter, facebook and instagram with the hashtag #3ItemsTag, I’d love to see them.
love anthony ♡

I thought I was a very good at saving money already, but wow…good job for using the pencils for almost everything 😂👍
LikeLike
It’s good to be able to be budget conscious and use what you have effectively, so really hope this helps others. Also, I tag you!
LikeLike
For sure! I’ll do the challenge once I have time 😂
LikeLiked by 1 person